Unexpected losses and operational failures on the final line of defence in Egypt 1942.
Between 1940 and 1943, the British Eighth Army, led by General Claude Auchinleck, fought Field Marshal Erwin Rommel’s German–Italian Panzerarmee Afrika in a bitter desert war that saw the two armies pushed back and forth along the North African coastline, between Libya in the west and Egypt in the east. By the end of June 1942, the pendulum of war had swung in favour of the Axis forces and the Eighth Army had been pushed back as far as El Alamein in the Western Desert of Egypt. Over the following month, the Eighth Army launched a series of offensive operations aimed at breaking through the enemy ranks. Unfortunately, most of the July operations were unsuccessful in gaining a decisive victory; in some cases they were disastrous.
The 27 July assault on Miteiriya Ridge, commonly referred to as Ruin Ridge, was arguably the most disastrous for the Australian contingent at El Alamein. During this operation, the 2/28th Battalion was virtually wiped out, with a loss of more than 500 men killed, captured or missing, and the attacking force as a whole suffering more than 1,000 casualties. The disaster at Ruin Ridge is indicative of the wider problems faced by the Eighth Army during the July operations. An analysis of the assault demonstrates that the operation was doomed to fail before the first troops even left the assembly area.
A seemingly innocuous position
El Alamein represented the final stand for the Eighth Army. If the Allies failed to halt Rommel, the German army would continue its advance to Alexandria – the home base for the British Mediterranean fleet, a mere 100 kilometres to the east – and then to Cairo and the Suez Canal – a critical supply and communication route between the European theatre, the Middle East and the Pacific. Maintaining control of Egypt was essential to winning the war.
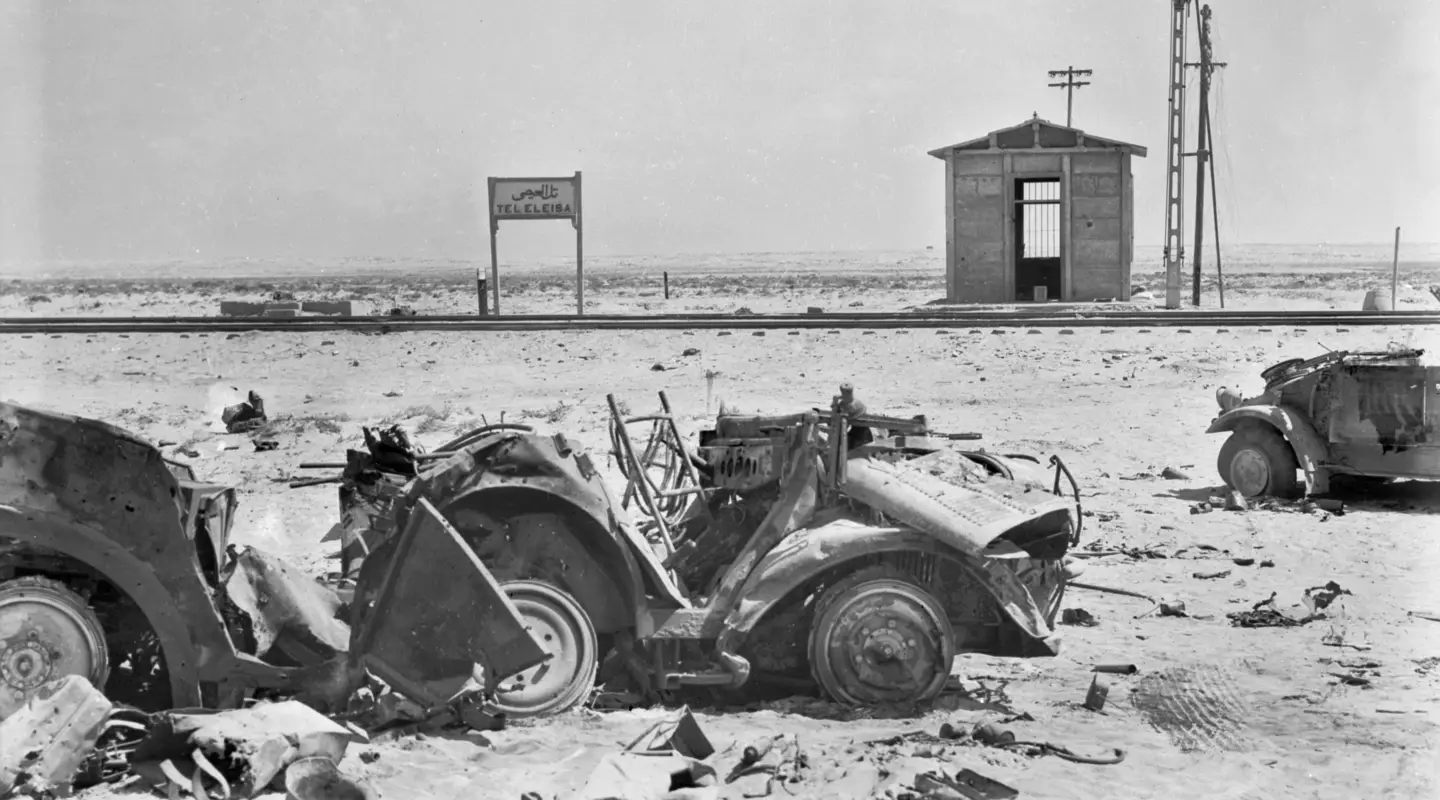
The ground around El Alamein, however, was far from strategic in the grand sense. Sergeant Joseph Stokes of the 2/7th Australian Field Regiment wrote, “we must have passed through it without noticing it. No wonder … there was nothing there”. Major Donald Jackson echoed this sentiment, noting that the area to be defended was “an undistinguished and almost featureless piece of Egyptian coastline”.
El Alamein was chosen as the final line of defence largely for its tactical qualities. Its flanks were naturally protected by the Mediterranean Sea in the north and the impassable quicksands of the Qattara Depression in the south. This created a bottleneck, which forced Rommel to face the Eighth Army head on, preventing him from employing the outflanking manoeuvres that were a mainstay of his tactical repertoire. In the words of the German official history of the Second World War, the Alamein position was “positively ideal” as a defensive position.

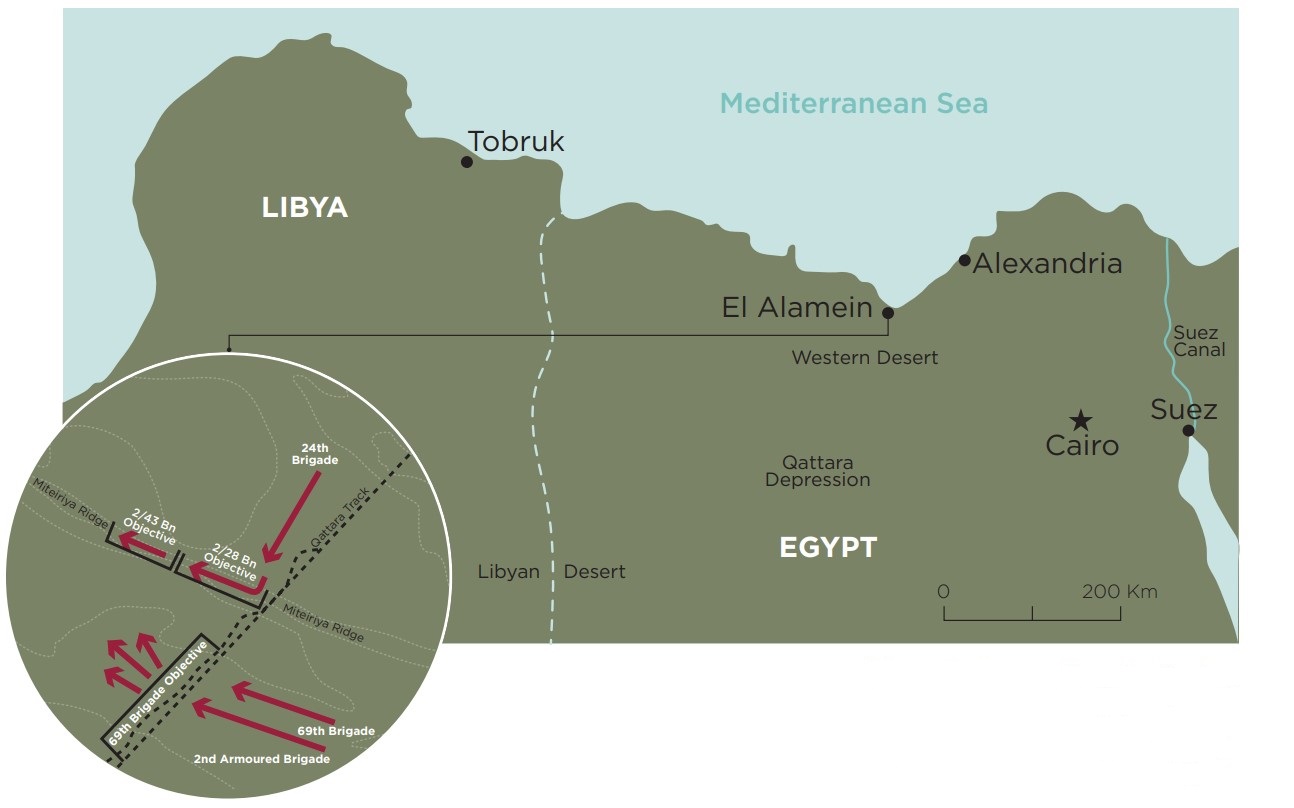
The plan of attack for the assault on Ruin Ridge, 26–27 July
Preparing for battle
Following a failed attempt to capture Ruin Ridge on 22 July, an outline plan was given to the commanders of the Australian 24th Brigade on 23 July. The 24th Brigade and elements of the British 69th Brigade were to lead the assault. The task of capturing Ruin Ridge was allotted to the 2/28th Battalion who would then be reinforced by the 2/43rd Battalion moving in on their right flank along the ridge. The 69th Brigade’s objective was to capture and hold a section of the Qattara Track south of the Australian objective. The 1st South African Division was to clear gaps in the surrounding minefields in support of the Australian–British advance. Once the Australian and British brigades had secured their objectives, tanks from the 1st Armoured Division would move in from the east and push through the ranks of the 69th Brigade to, in the words of Major Donald Jackson, “do the dirty on the enemy’s armour and L of C [Line of Communication]”.
Everyone seems quietly confident and we don’t fear that we will do our bit as ordered. I have a niggling apprehension however – we can assume that 2/28th will have its objective by early morning but if it is not joined there by the other elements it will be terribly exposed in the midst of German defences in daylight.
Major Jackson, whilst based at based at 24th Brigade Headquarters,
His hesitation was well founded: the plan of attack was flawed from the beginning. Little time was given to prepare for the assault on Ruin Ridge. Orders were initially given to launch the attack on the evening of 24 July but, given the tiredness of South African and British troops to be involved, the attack was postponed to the night of 26 July. Having known for the better part of 48 hours that they would have the leading role in the assault, the Australian contingent had made the most of the time available by rehearsing their night attack procedures. Unfortunately, the same could not be said for the British and South African units. The British brigade was only included on the insistence of Lieutenant General Morshead, who argued that the plan of attack would endanger his men if armour failed to materialise. With the participation of the 69th Brigade being a last-minute change to the order of battle, any previous coordination was negated.
27 July: the battle
Regardless of the operational issues, the assault moved ahead as planned. Shortly after midnight on 27 July, the 2/28th Battalion moved out from its assembly area and headed south for its objective, Ruin Ridge. Lacking the element of surprise, the advancing battalion came under heavy fire from the outset, with German positions enfilading the field from both flanks before covering artillery fire could be laid down. After an hour, the Australian battalion had overrun the German defenders on the ridge and begun to consolidate its position. This early success was not to last.
On approach to its objective, the 2/28th Battalion lost communications with Brigade Headquarters as it passed through a minefield surrounding the ridge. Meanwhile, the supporting arms attempting to pass through a gap in the minefield came under heavy fire from German gunners on their flanks. In a particular stroke of misfortune, an ammunition truck took a direct hit and burst into flames. Sergeant Stokes recalled the moment the truck was hit:
Approaching on the Australians’ left flank, the British 69th Brigade also met heavy resistance. Like its Australian counterparts, it lost communications with headquarters on approach and its supporting arms failed to arrive. But the brigade successfully captured its objective, albeit later than anticipated. Throughout the night, the 69th Brigade and the 2/28th Battalion attempted to dig in and consolidate their positions while enduring heavy fire from the German artillery, which, as Private Leslie Watkins of the 2/13th Battalion stated, “had their position ranged to a tee and pounded them continually”.
In a fatal blow to the Australian and British infantry, the 2nd Armoured Brigade, which was meant to support their consolidation at first light, failed to press forward. Because of loss of communication with the 69th Brigade, there was confusion about location, whether it was on objective, and whether the minefields had been cleared for the armoured advance. Consequently, zero hour for 2nd Armoured Brigade, which had initially been set at 6 am, was pushed back, first to 8 am, then to 10.45 am. According to the Eighth Army’s Chief Engineer, Brigadier Frederick Kisch, the commander of 1st Armoured Division had refused to commit his tanks to the attack until he was “100 per cent certain” a gap in the minefield had been cleared, something Kisch argued was impossible to assure.
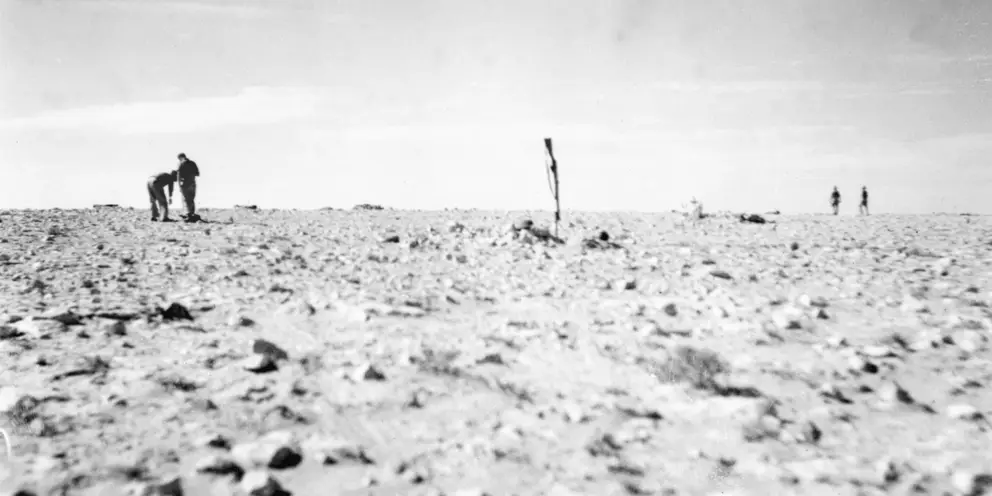
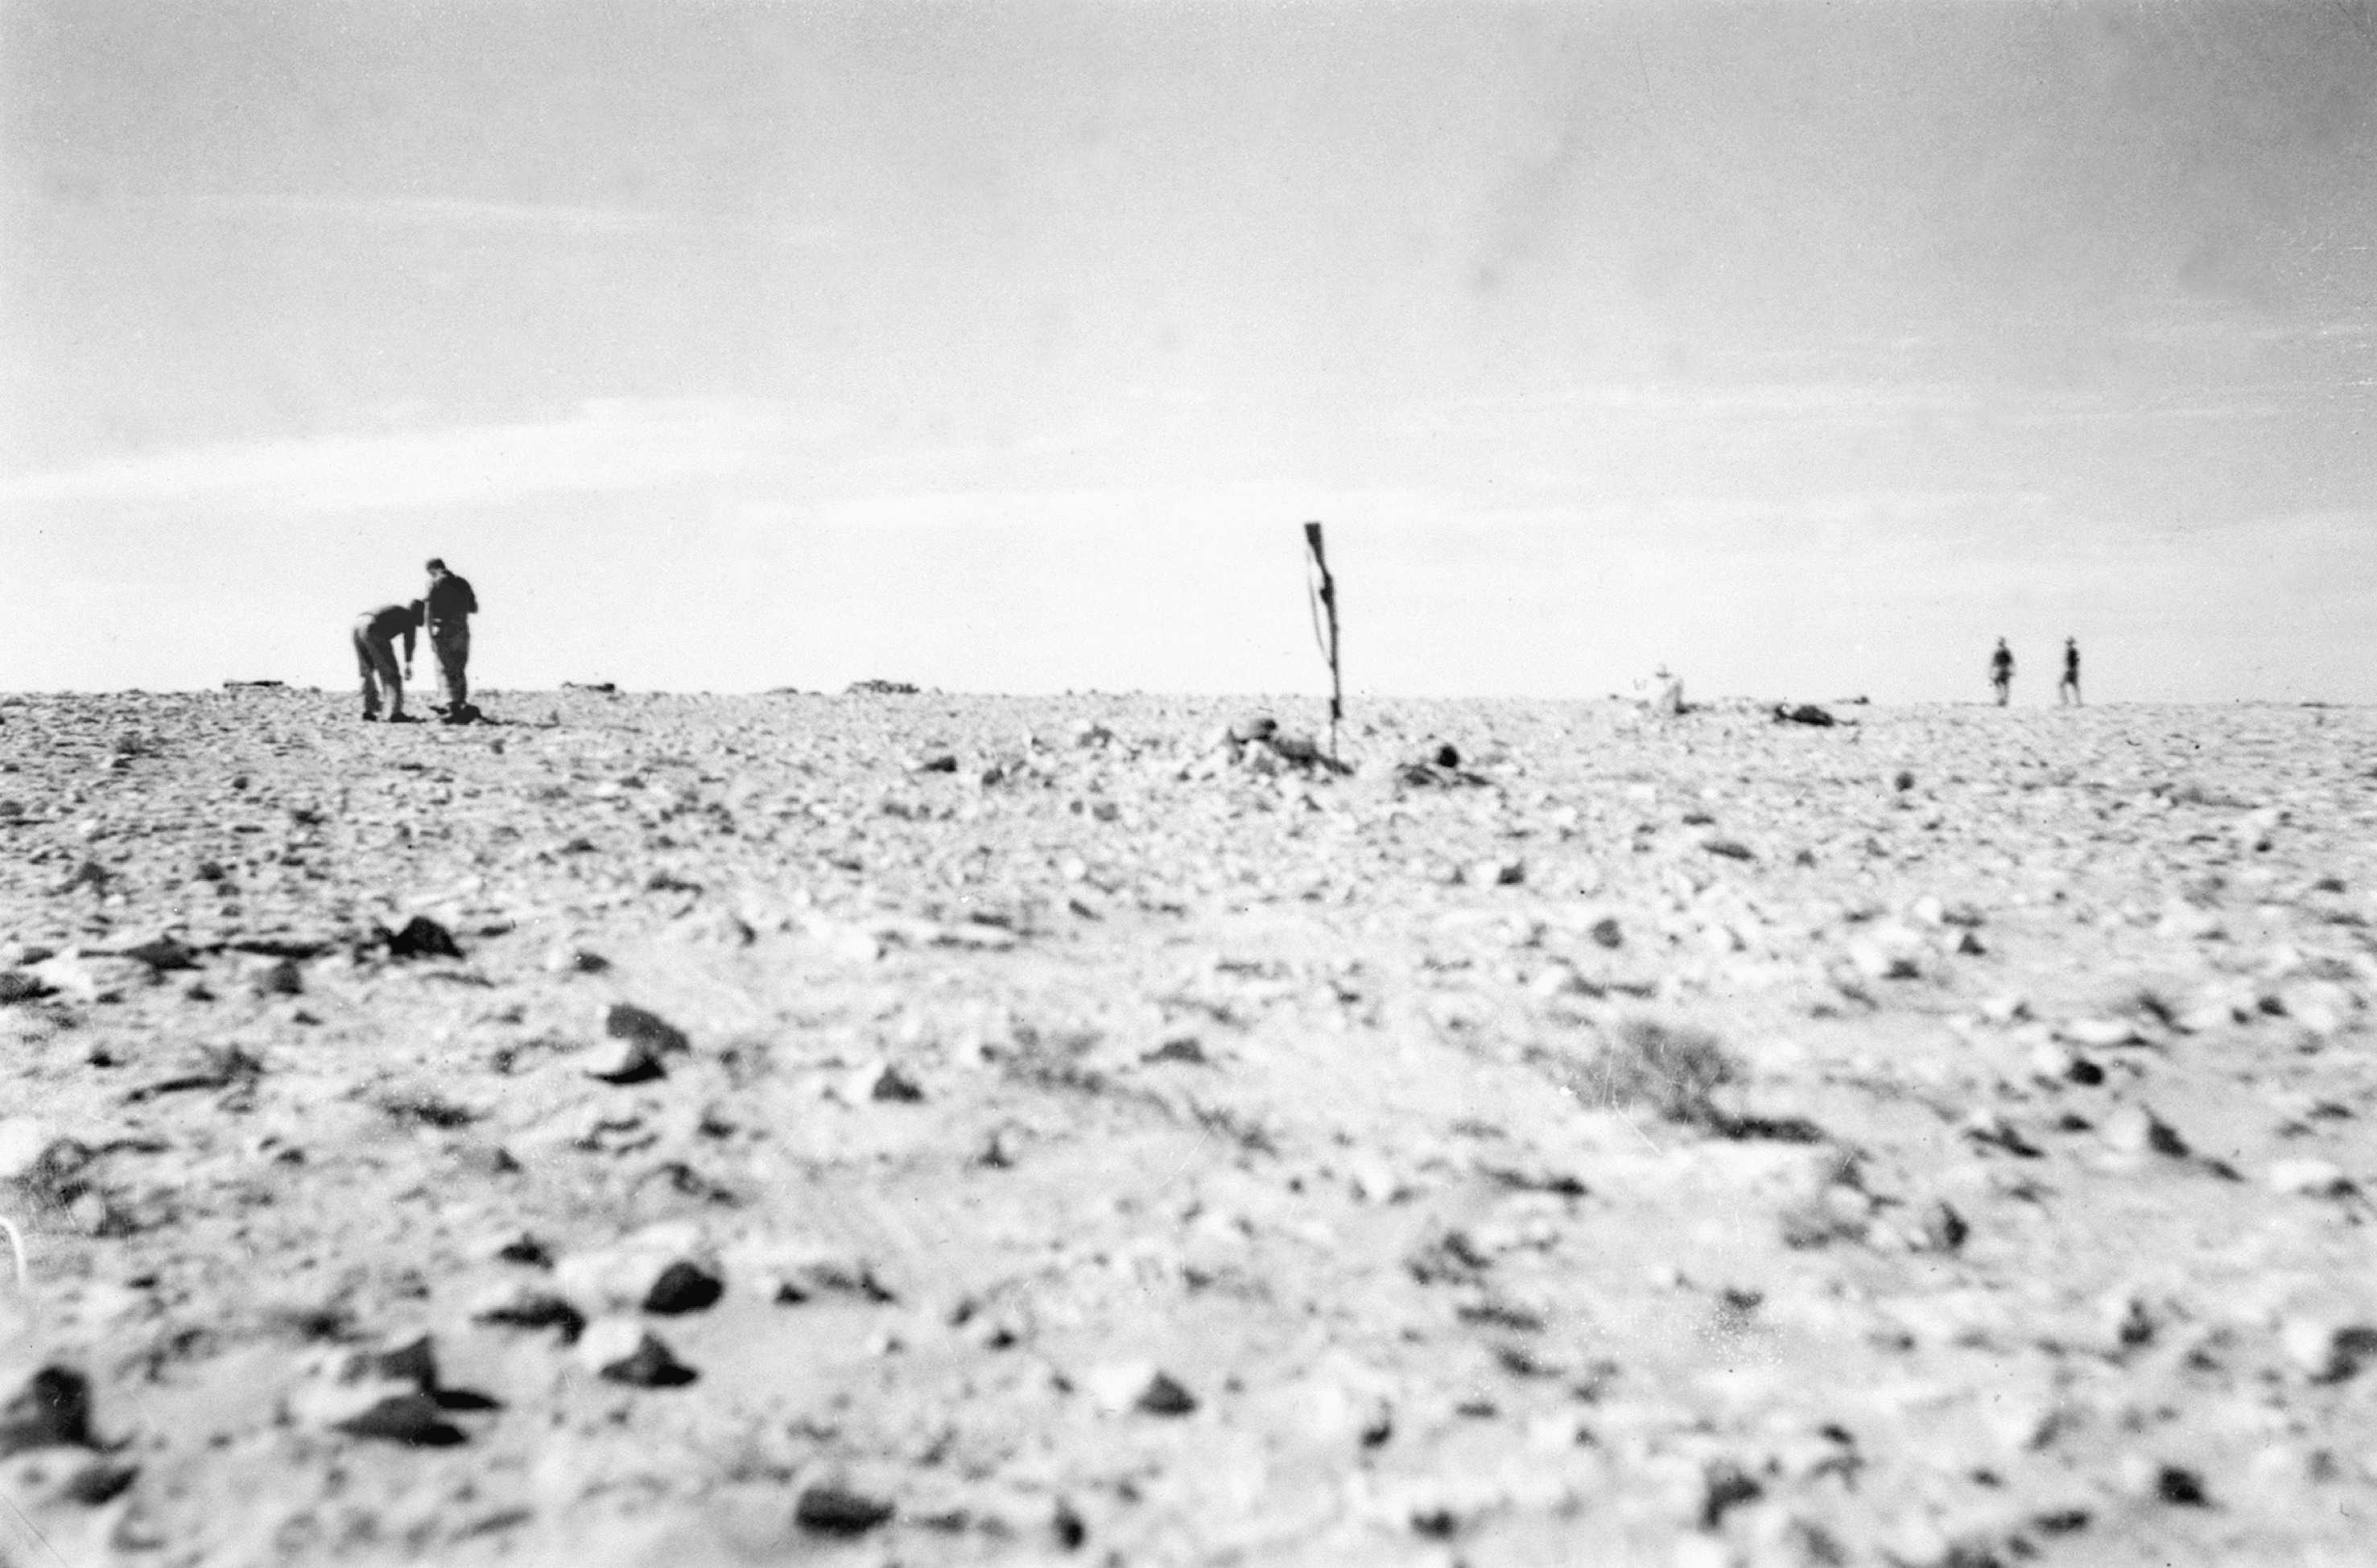
Members of the 2/28th Australian Infantry Battalion searching for missing men after the attack. AWM 042488
As the armoured support failed to move forward, the 24th Brigade attempted to get aid to the beleaguered 2/28th Battalion. But the Germans launched a major counter-attack against Australian troops on Ruin Ridge at first light, and the battalion was cut off, becoming increasingly encircled by enemy tanks and infantry. At 9 am it managed to transmit a request for armoured reinforcement and artillery cover using Morse code.
Major Jackson recalled the moment patchy communication was restored:

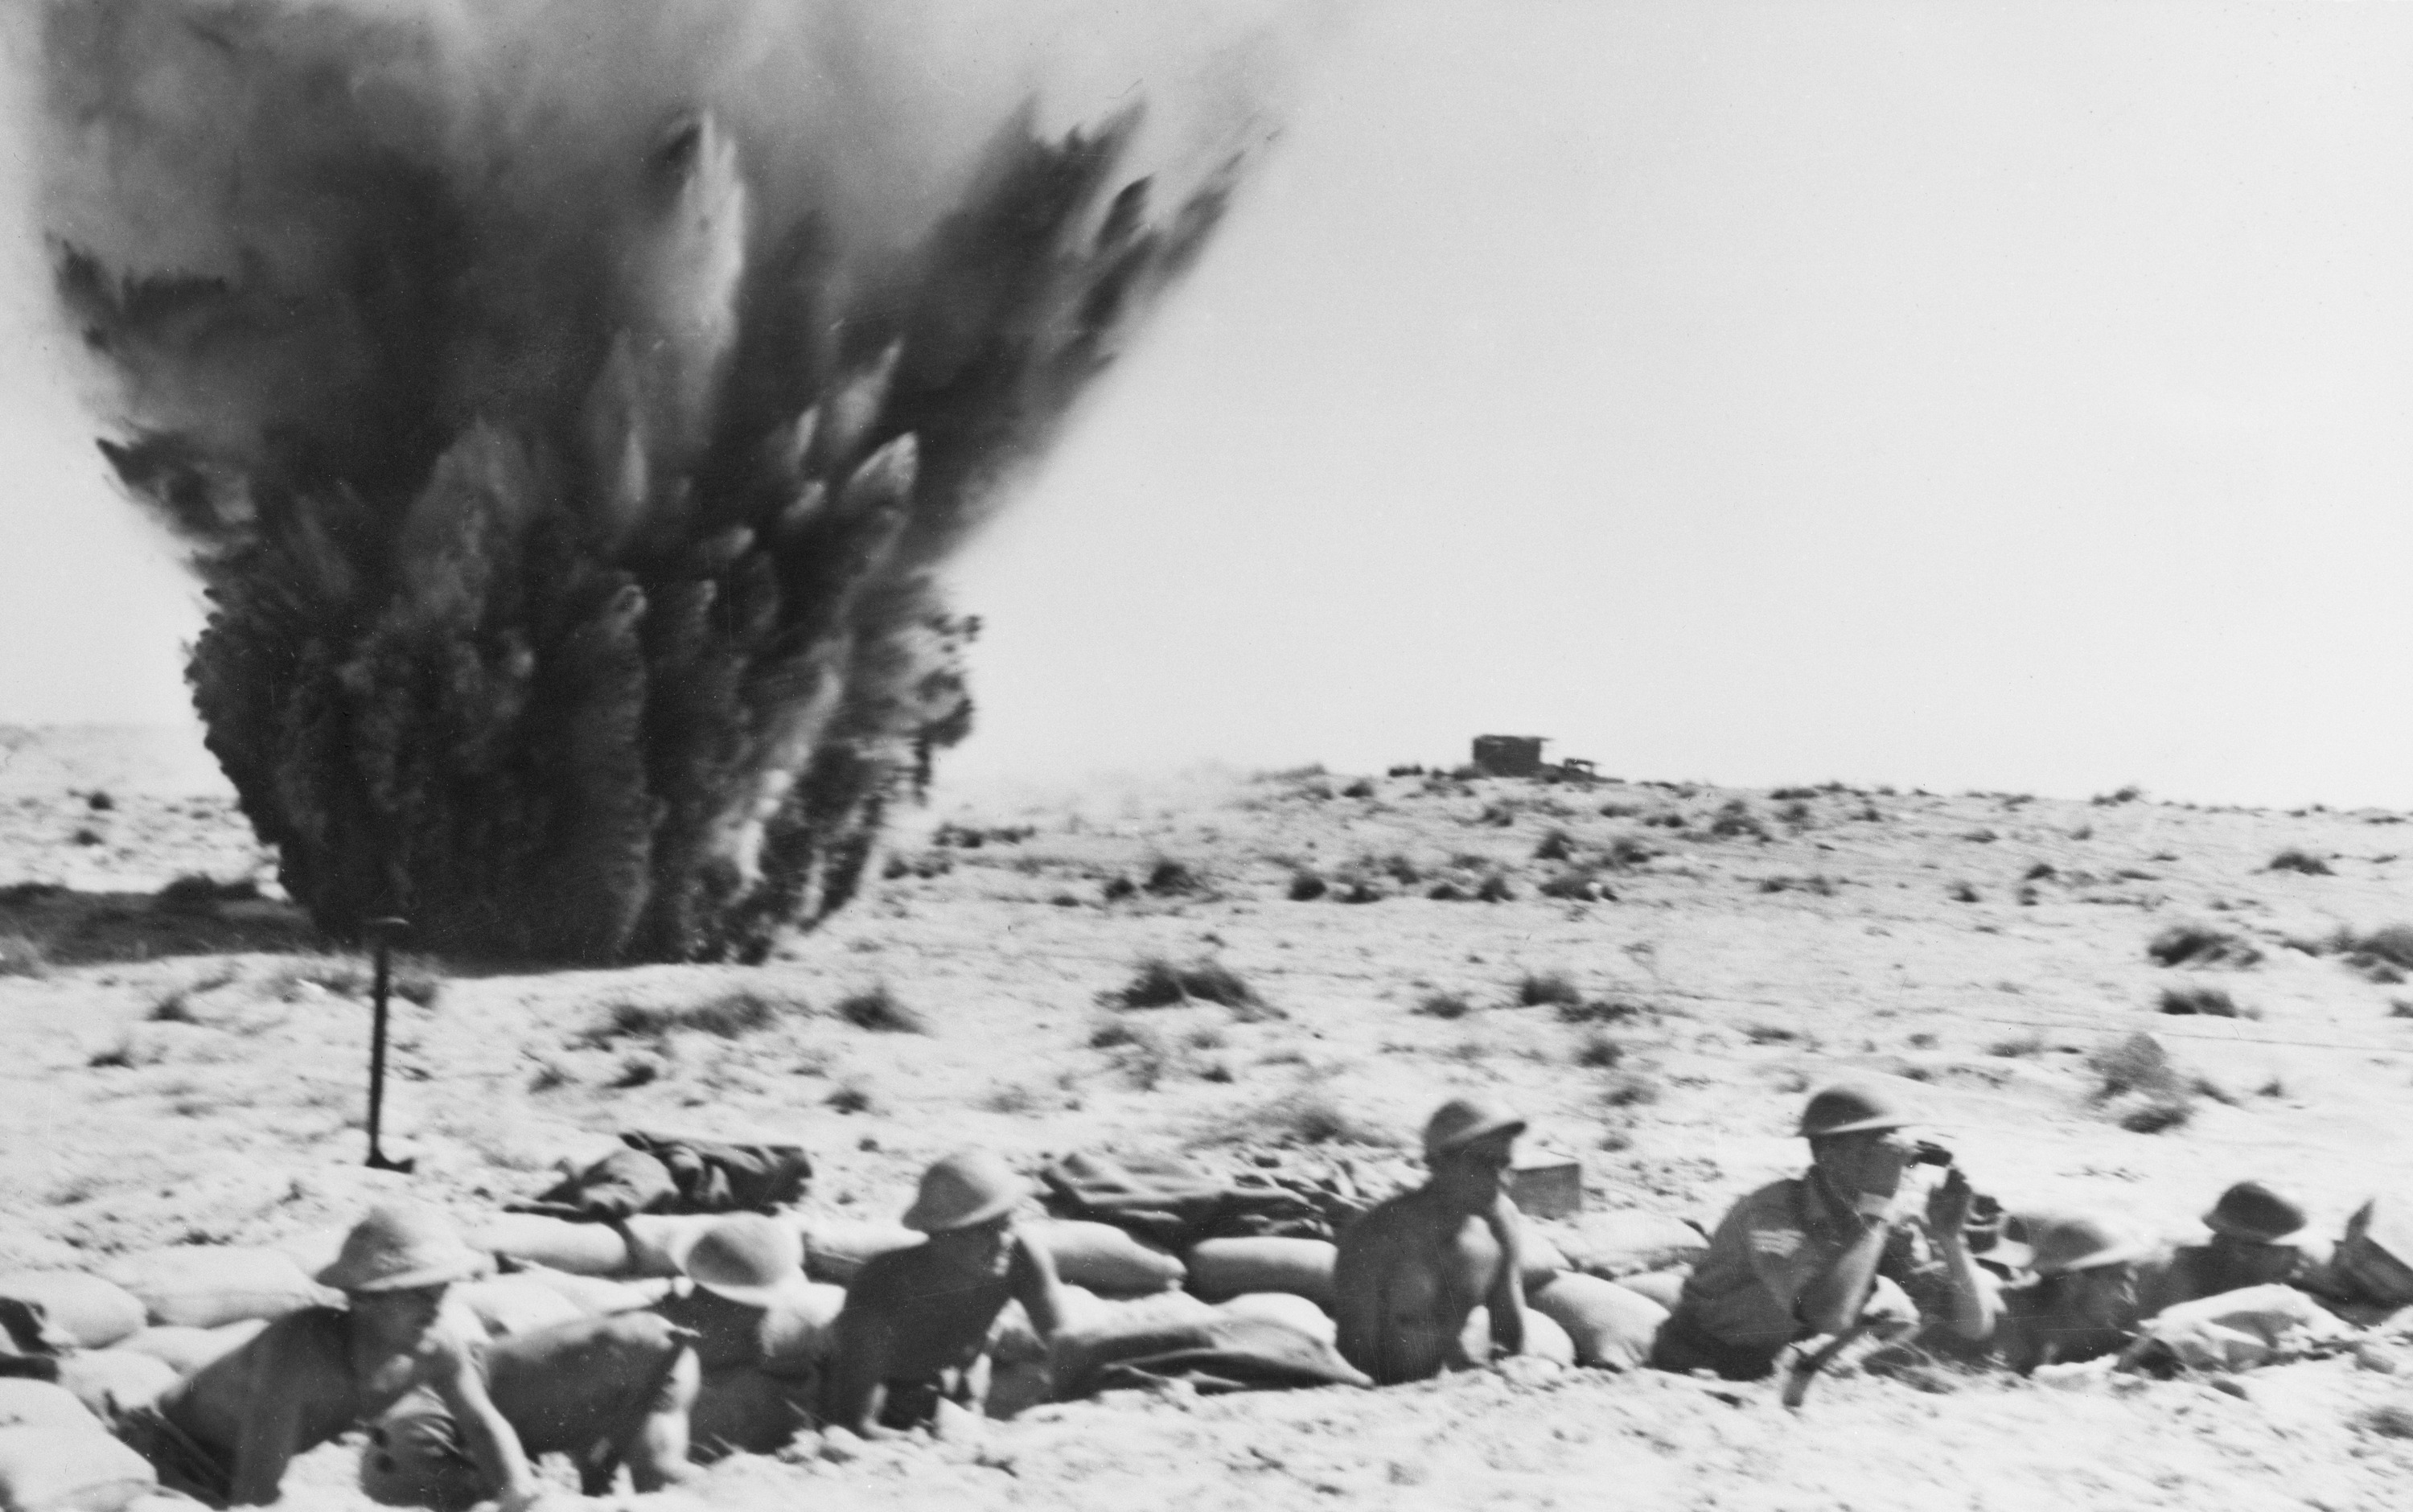
Mortar bombs explode behind a slit trench occupied by Australian troops of the 9th Division at Ruin Ridge, September 1942.
Brigade Headquarters sent in two squadrons of Valentine tanks to extricate the men of the 2/28th, however, they were forced back after encountering heavy fire from German anti-tank gun emplacements. Twenty-two tanks were knocked out before the squadrons were forced to make an ordered retreat to the assembly area.
From their position outside the operational area, the men of the 2/13th Battalion found themselves little more than “helpless spectators of this debacle … tormented by a sense of frustration”. “All I could do was watch the 2/28 being taken into captivity,” recalled Private Leslie Watkins.
Though the armoured breakthrough would eventually press forward at approximately 10.30 am, it was too late for the infantry. Surrounded by enemy tanks and without hope of reinforcement, extraction or retreat, the 2/28th Battalion transmitted its final message to Brigade Headquarters: “We have got to give in.” By 10.05 am, in the words of Major Jackson, “the battalion was gone”
The blame game
The failure of the operation was the result of various factors. There is no doubt that issues such as weariness of the troops impacted on the Ruin Ridge operation – particularly in the case of the British 69th Brigade, which was less a brigade and more a scratch amalgamation of the remnants of the 50th Division. However, it was poor operational planning and the failure of armoured support to materialise which ultimately resulted in high casualties and the failure of the operation.
Operational planning was problematic from the outset. As the Australian 9th Division after action report notes, the initial attack carried out by the infantry was on too narrow a frontage. Instead of dedicating more troops to open a single, long breach in the enemy line, the plan of attack called for two smaller breaches by a single Australian battalion and the British 69th Brigade. Coupled with divergent axes of advance, which prevented the troops from maintaining a mutually supportive advance, this left Australian and British infantry susceptible to being flanked and encircled by enemy counter-attack.
The employment of so many different units in the operation was also problematic. As the assault employed smaller contingents from several divisions, there was no central headquarters through which all information was routed. The participating units operated independently rather than as a group, which led to a general lack of cohesion in the assault and resulting in confusion as to the movements and actions of each of the units. As a telling example, the armoured support halted their advance at one point because they saw South African engineers removing mines from the field and assumed that they had failed to clear the minefield; the engineers were simply widening the gap.
Given the inherent operational flaws in the assault, the armoured breakthrough was necessary to ensure success. The failure of armoured support to materialise was cited by all levels of the Eighth Army as the direct cause of the operation’s failure. Brigadier A.H.L. Godfrey asserted that the cancellation of the armoured breakthrough “led to 2/28 Battalion being exposed on all sides and was mainly responsible for the overrunning of that battalion”; Morshead had repeatedly made known his lack of faith in the armour; and Auchinleck stated that “the immediate cause of the failure of this operation was the delay in getting the tanks forward to support” the infantry.

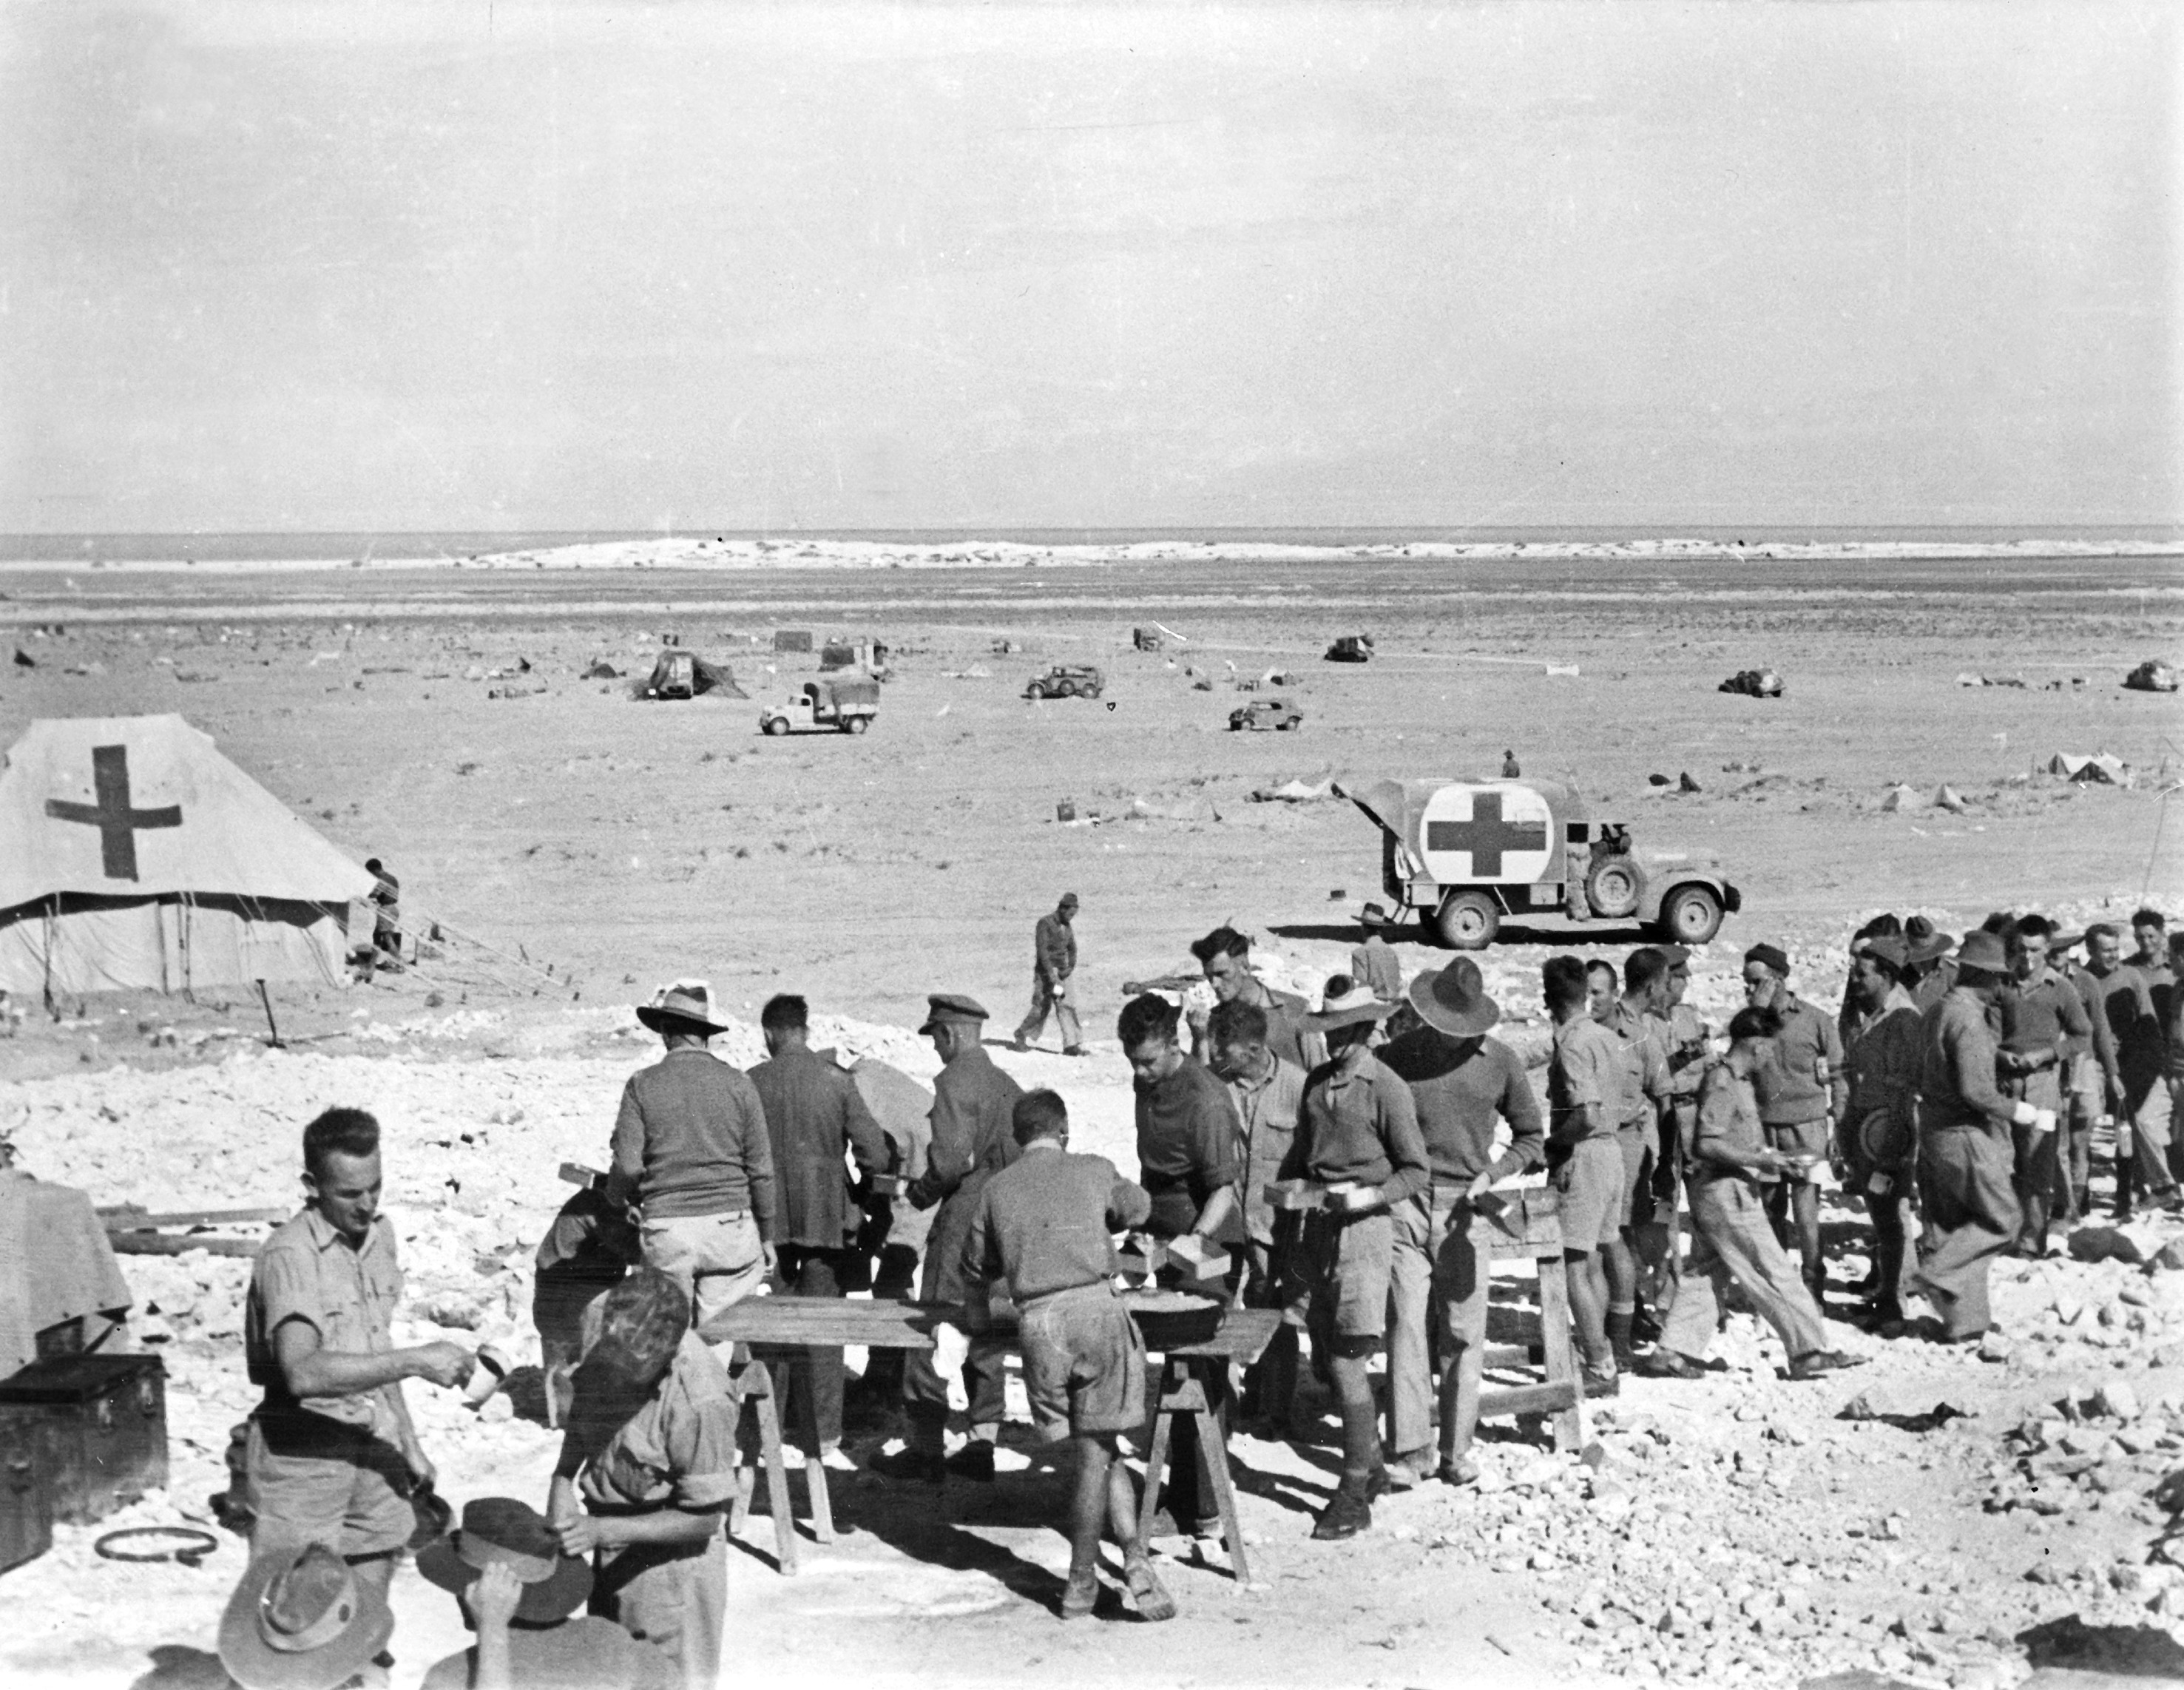
Members of the 2/11th Field Ambulance, AIF, at the advanced dressing station, El Alamein. AWM 043208
Importantly, it was not simply the failure of the armoured support to move forward as planned which resulted in the heavy casualties, but the failure of 1st Armoured Division to alert the infantry to the extensive delays in their approach. As the 9th Division after action report noted:
Although the operation was predisposed to failure, the disastrous casualties sustained by the attacking force could have been limited if the armour had communicated effectively with the other participating units.
The aftermath
The disaster at Ruin Ridge was one of the most costly actions for the Australian contingent at El Alamein. Sergeant Frank Perversi recounted his incredulity at the losses sustained by the Australian battalion: “On 27 July 1942 you see the 2/28 virtually annihilated with the loss of five hundred men – on ONE day.” The operation had resulted in the loss of more than 1,000 men, with more than 500 men from the Australian 2/28th Battalion killed in action, missing, or captured. Soon after the Australian infantry was overrun, the British infantry succumbed to the German counter-attack, resulting in 600 casualties.
Responsibility for the failure of the July campaign to achieve a decisive victory has often been attributed to Auchinleck personally, and numerous historians have described his command of the Eighth Army at El Alamein as inept. While there were several issues that contributed to the failure of the operation, some of which may be directly tied to Auchinleck’s command, it was poor operational planning and the failure of armoured support that ultimately resulted in the disaster.
The failed assault on Ruin Ridge was to be the last major offensive of the July campaign. Both forces were exhausted. Rommel’s army was suffering from logistical support issues due to the overextension of supply lines and constant attacks on lines of communication by the Desert Air Force. It had also sustained heavy casualties during the July operations, particularly within the ranks of its Italian units. The Eighth Army was equally exhausted and lacking in men and materiel.
While the July operations were largely characterised by failure, it is important to note that, although Auchinleck and his army failed to defeat their enemy, they were successful in halting the Axis advance and inflicting crippling casualties on Rommel’s army. Over the course of July, the groundwork was laid for the Allied victory that occurred three months later, under Auchinleck’s successor, General Bernard Montgomery, who had learnt from the mistakes that handicapped earlier operations.

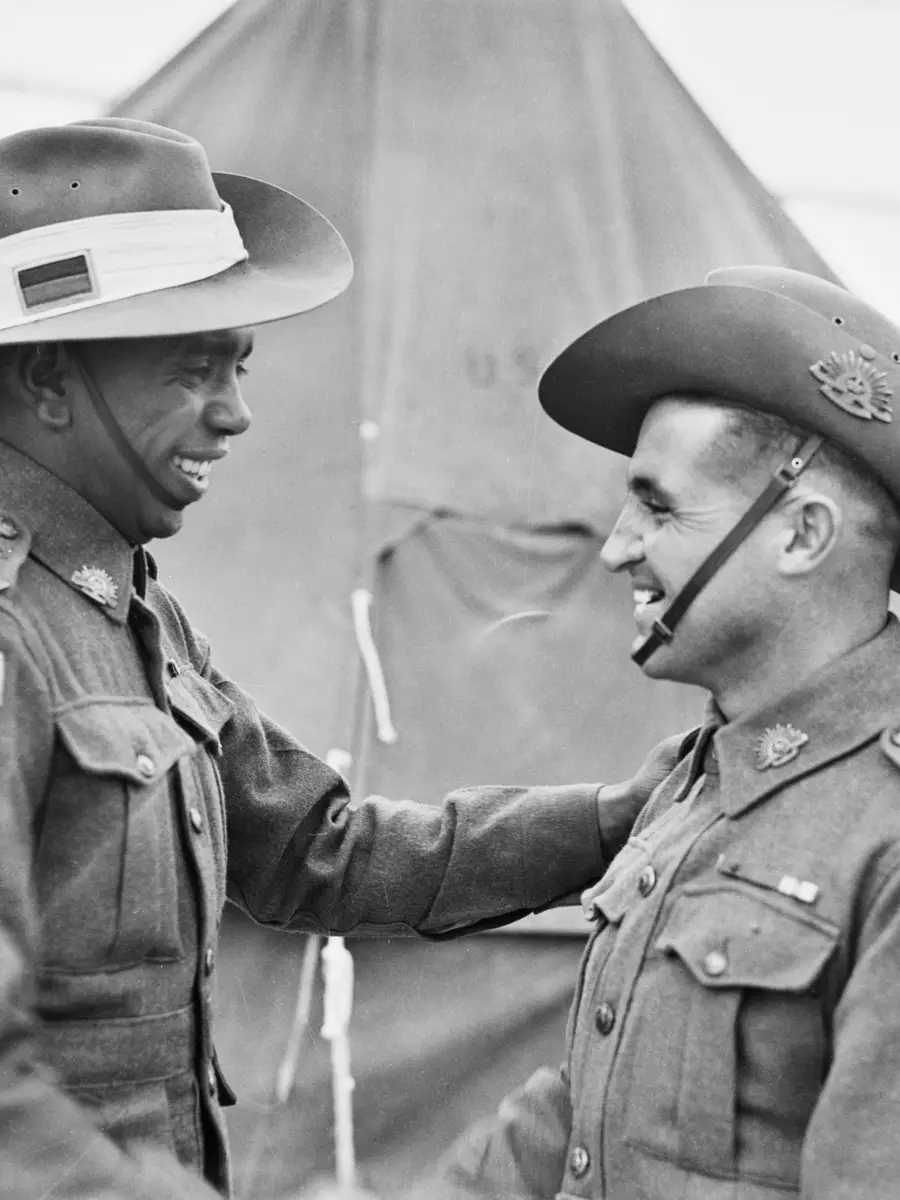
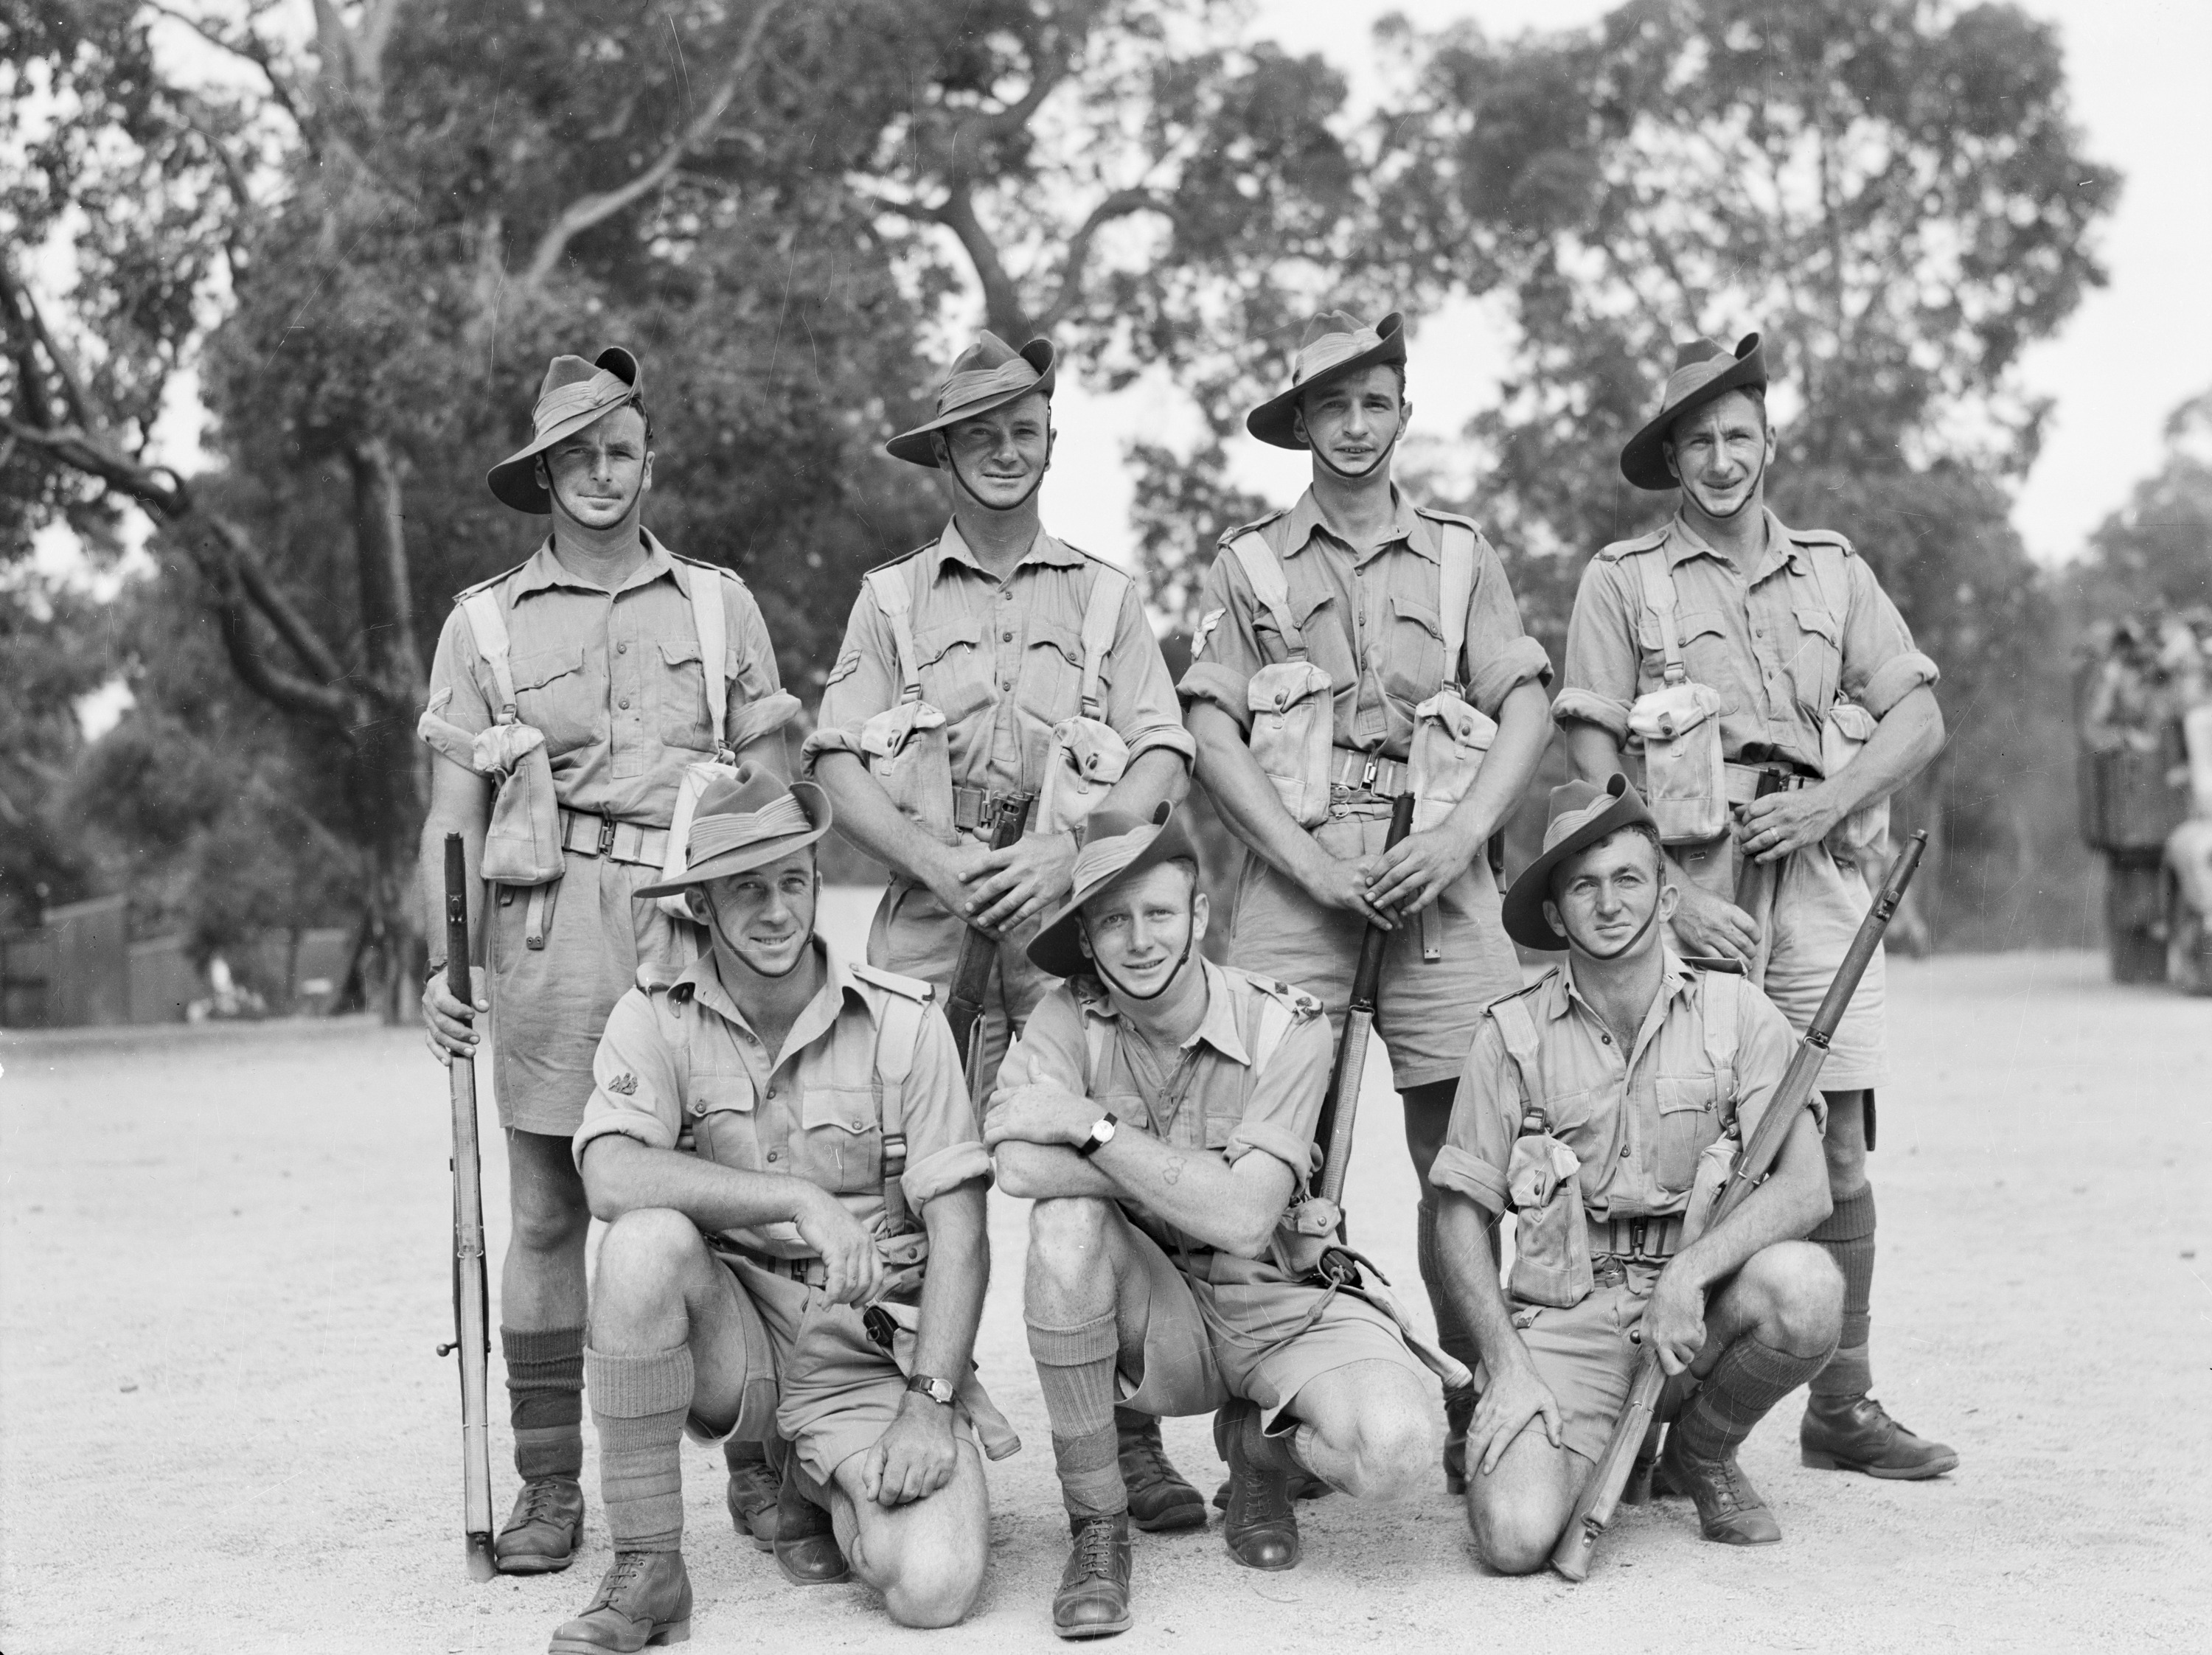
Members of the 2/28th Battalion who acted as a liaison patrol with the British 69th Infantry Brigade at Ruin Ridge. Perth, 24 March 1943.
Members of the 2/28th Battalion Brigade liaison patrol Perth, 24 March 1943.

